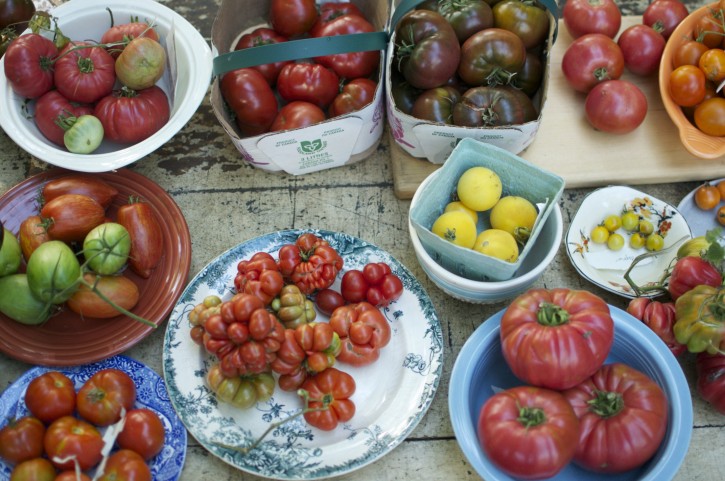
Great Canadian Food Experience; Preserving Our Canadian Food Tradition by Canning Heirloom Tomato Sauce This time of year I’m still neck deep in tomatoes. We grow them all summer, then as we pick them I make notes, take photographs, and try to stay organized before ripping them open to start fermenting the seeds. By the time […]
How to: Freeze and Peel Tomatoes for Easy Preserving and Winter Hoarding
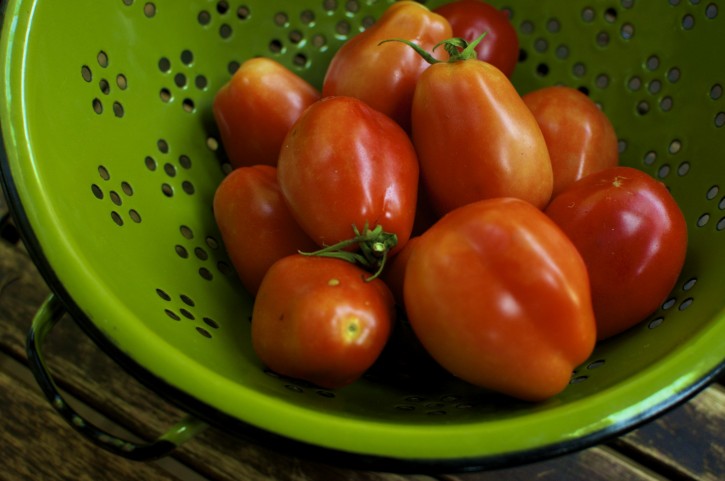
The tomatoes are starting to roll in. It’s always exciting at first, those first tomatoes. Grown by spring rain and summer heat. Quickly though, full on tomato panic starts to sets in. Where do you put them all? How can you prevent buying some in December when there are so so many right now? Canning […]
Make Your Own Organic Cranberry Sauce {Enough for both Canadian Thanksgiving and Christmas}
I had a lovely evening out last week with my friend Shana. We went out on the town to a canning class put on by Bernardin in a local church kitchen. Although we’re both becoming rather seasoned canners it’s nice: 1. To have a nice community event to go to. 2. We kind of like hanging […]
Canning Tomatoes for the First Time: Some Lessons Learned
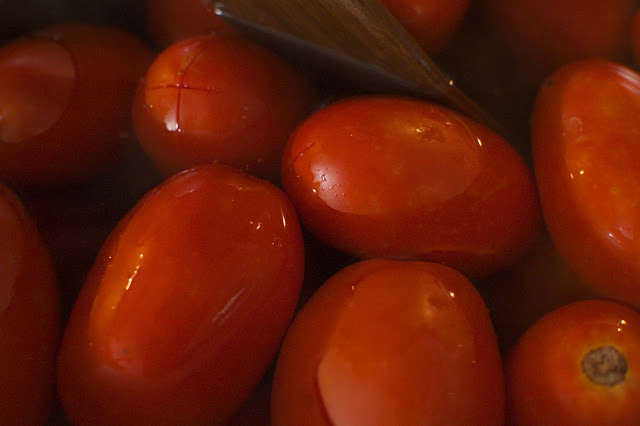
Although we’ve now been canning, mostly successfully, for a few years, this year we’ve been taking on bigger projects. First those pesky peaches and now 3 bushels of blasted tomatoes. We shot this great time lapse video of our twelve hour day that certainly demonstrates the busy-ness but there’s much it is not showing. Here […]
Twelve Hours of Tomatoes in Two Minutes
This video is meant to be part of a much larger post about our adventures in canning tomatoes but that will just have to come later in the week as Ryan and I are just too excited to share this. Here is a time lapse that Ryan and […]