Barbequing pizza is my favourite party trick. It’s a little scary and things can go up in flames, but with a little practice you get delicious gourmet pizza. And hey, if it goes terribly wrong you can order in some delicious gourmet pizza and call it a day.
First things first, you need some pizza dough.
1 package or 2 ¼ teaspoons of dry active yeast
1 cup of warm water (or if you’re feeling fancy, room temperature beer)
½ teaspoon of salt
2 teaspoons of olive oil
3 cups of flour (we combine 1 cup of semolina or type 00 or whole wheat with 2 cups of unbleached all purpose)
Pizza dough is so easy that Ryan made it with me explaining it over the phone.
These instructions use a stand mixer but you can use your hands, a food processor or a bread-maker.
Dissolve your yeast in warm water or beer in a warmed mixing bowl. Add salt, oil, and 1 cup of each type of flour. Using the dough hook attachment, mix on low speed (2) for about 1 minute.
Continue mixing and slowly add remaining cup of unbleached flour. Mix for another two minutes until dough clings to the hook and no longer to the bowl.
Pour a little oil, a teaspoon maybe, in a bowl and turn your dough in it until coated. Cover the bowl and find a nice warm draft free place for it to rise.
Wait 1 hour, the dough should have doubled in size. If not, find a warmer spot. If so, punch down then roll out your dough.
Now for the fun part.
So there are 2 secrets to barbequing pizza; 1. Be very organized and prepared, 2. Have a really hot grill.
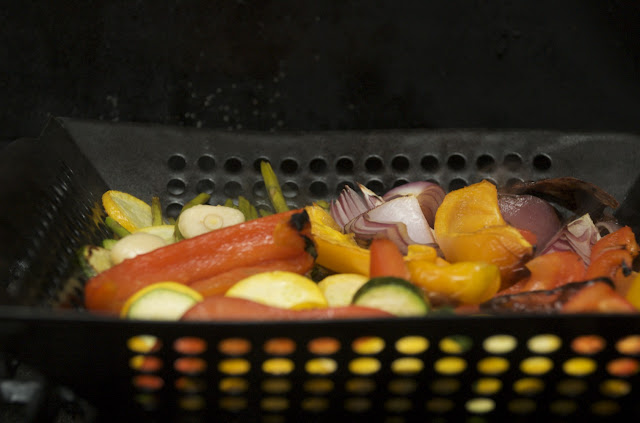
I grill or otherwise cook the toppings ahead of time. The pizzas are on the grill for such a short amount of time that otherwise the toppings just won’t cook. So grill up your veggies and boil your potatoes. Then grate your cheese and roll out your pizzas.
Once you have the pizzas rolled out, you can put your sauce and cheese on.
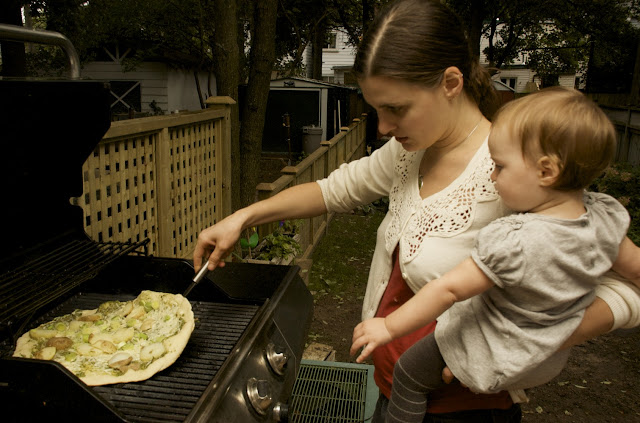
Now it gets exciting: make sure your grill is at least 450. Scoop up your dough by bringing the edges into the middle. You will have to work fast. Throw on hot grill, then uncrumple your dough, check your cheese coverage, and quickly add your toppings.
Although I artistically arrange my “winter pizza” toppings, now is not the time! Throw them on quick! This is where the preparation comes in handy.
As soon as you’re done decorating, It will be time to start moving your pizza. This should prevent burning. Use a good metal spatula, unstick your pie and give is a good turn. Close the grill but come and check back frequently, giving it about 5 minutes tops. Quite often you’ll get a nice bubbling effect.
That’s it! Take it off, slice it up, and serve. We like salad on the side, but that’s totally unnecessary.
Some of our current favourites are pesto, leek and potato; pesto, asparagus, spinach (we like things colour coordinated, it must be our art degrees); red onions, peppers (this time we used Alma peppers), and tomatoes; zucchini red onions and black olives. Now I’m hungry.


I like mushrooms and brie or goat cheese, roasted garlic and asparagus.
mmm Roasted garlic. I forgot about blue potatoes. I must have a picture of a blue potato pizza from the beginning of the summer.
Yum! That looks delicious!!! Hmmmm…I'm thinking dinner tonight…gotta try it.
Oh wow that looks delish!
Hey y’all, that seems so gutsy! I’m very impressed with your transfer skills. I had tried this a few times with putting the pizza crust on first, flipping it then adding ingredients but I like your all-at-once method. However, after I found a pizza stone that was grill-friendly I liked that option much better. Anyways, I just came over from the FBC pizza pinterest board, so thanks for the recipe ideas, pre-grilling the veggies is a great idea!