I’ve talked about growing potatoes here before and recently was invited to write about the topic for Kaia magazine. It’s the first time I’ve had anything I’ve written published in print so check out pages 40-43 as well as the other excellent gardening and eco-friendly articles.
Last year’s potato post was the most popular post ever but this article has clearer instructions than the ones I’ve published before. Planting is still a few weeks off here, but I’ve just placed a giant order with Eagle Creek Farms that we’ll plant here in the city in the garden bathtub and up at the farm this summer as well. This year we’ll be growing a variety of different coloured and shaped potatoes as well as early, mid and late season varieties and I hope you’ll join me in growing spuds this spring.
Potatoes are not the first thing that comes to mind for most people when they think of container gardening but they really are the perfect candidate. Potatoes love growing vertically, can take up a great deal of space, and are susceptible to pests and soil contaminates. Simply planting them in a container rather than your garden beds helps maximize your yield while reducing potential problems.
Potatoes are really so easy and satisfying to grow that you’ll wonder why you didn’t start sooner.
1. Pick and Prepare a Container
Almost any vessel will do with the criteria being: well draining, non-toxic, with a preference for a tall rather than squat shape.
In our own garden we have tried a variety of containers.
For years we grew them in an old garbage can with extra holes drilled into the bottom, food grade buckets again with added holes, large terra cotta pots, repurposed wooden crates, in grow bags, and my favorite, an antique claw footbath tub with a layer of stones and brick at the bottom to ensure adequate drainage.
Once you have chosen your container give it a good scrub and add any extra holes it needs, as adequate drainage is probably the most important factor in a healthy harvest.
2. Choose Seed Potatoes
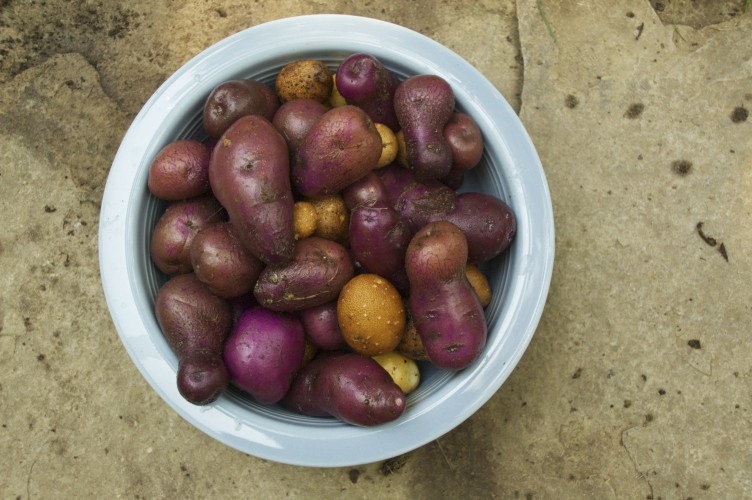
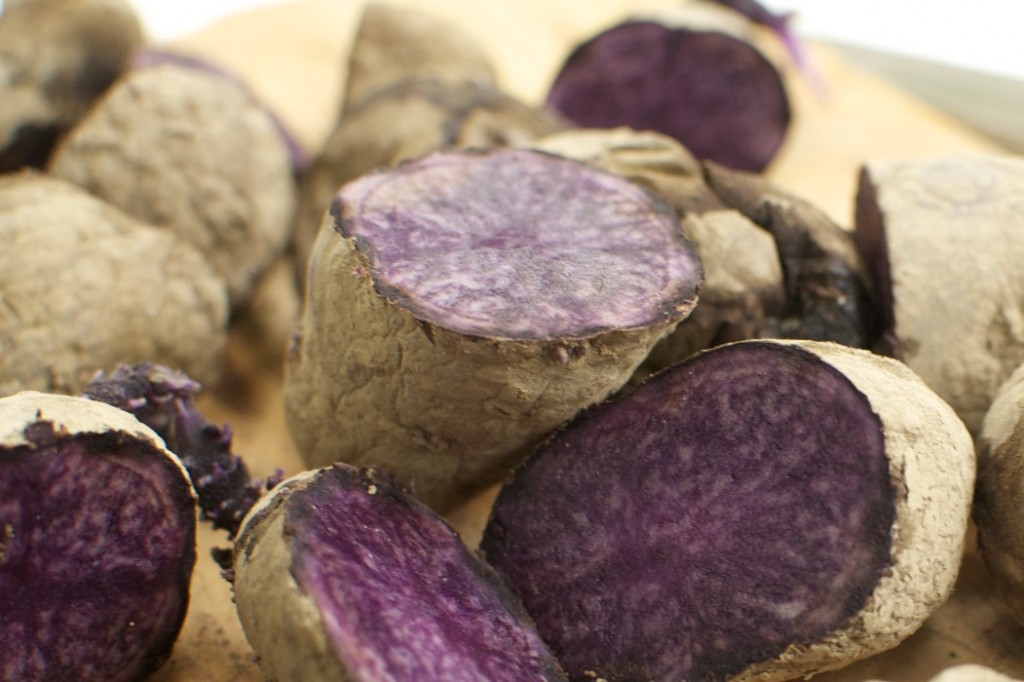
The best part about growing your potatoes is the variety you can choose from. Potatoes come in a spectrum of colors including yellow, red, purple and blue and many different shapes such as fingerlings.
You may be able to find seed potatoes at your local nursery, gardening event, or organic co-op. It’s also very easy to order them online and some great sources of seed potato are listed at the end of this article.
If you’d rather just use potatoes from the grocery store you can with a few specifications. These tubers should be organic, as some grocery store potatoes have been treated so they won’t grow eyes. Look for potatoes that are showing signs of sprouting and chose new potatoes over ones from last fall that have been treated for long-term storage. Gently wash them; being careful not to scrub off those eyes, as that’s where the shoots are going to grow.
This year our selections include Russian Blue, Rose Finn Apple Fingerlings, Alaska Sweetheart and a bag of organic red potatoes that sprouted by accident.
3. Cut & Cure
Once you have your potatoes you’ll need to chit them, which is just getting them to sprout eyes. Putting them in a paper bag or egg carton for a few days should do the trick.
Potatoes can be planted whole or cut up. It’s a matter of personal preference. I cut mine in half. Make sure there is at least one eye per piece and then leave them in a dark spot for the cut to heal over night.
4. Plant
Start by filling your container with just a few inches of soil and compost and place your potato pieces on top of the soil. Loosely cover them with another 6 inches of soil and then water.
Potatoes need at least 6 hours of sun per day and will thrive with more. I have normally tucked them away somewhere sort of cool and find they fill a less than perfect corner of the garden.
Potatoes are excellent companion plants to beans, cabbage and corn and are better off growing quite a distance from sunflowers, tomatoes, raspberries and squash.
5. Water & Add More Soil
As they grow, loosely add more soil around the plants. For every 6 inches or growth or every two weeks add a shovel full or so.
Be sure to keep the soil moist and not to allow the soil to dry out.
6. Harvest
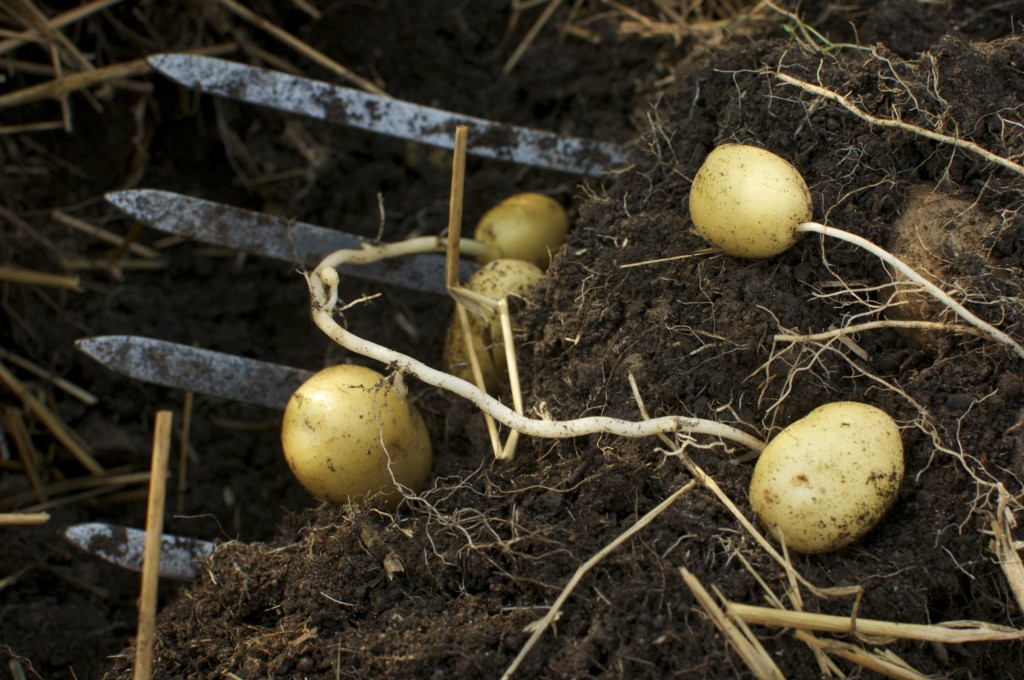
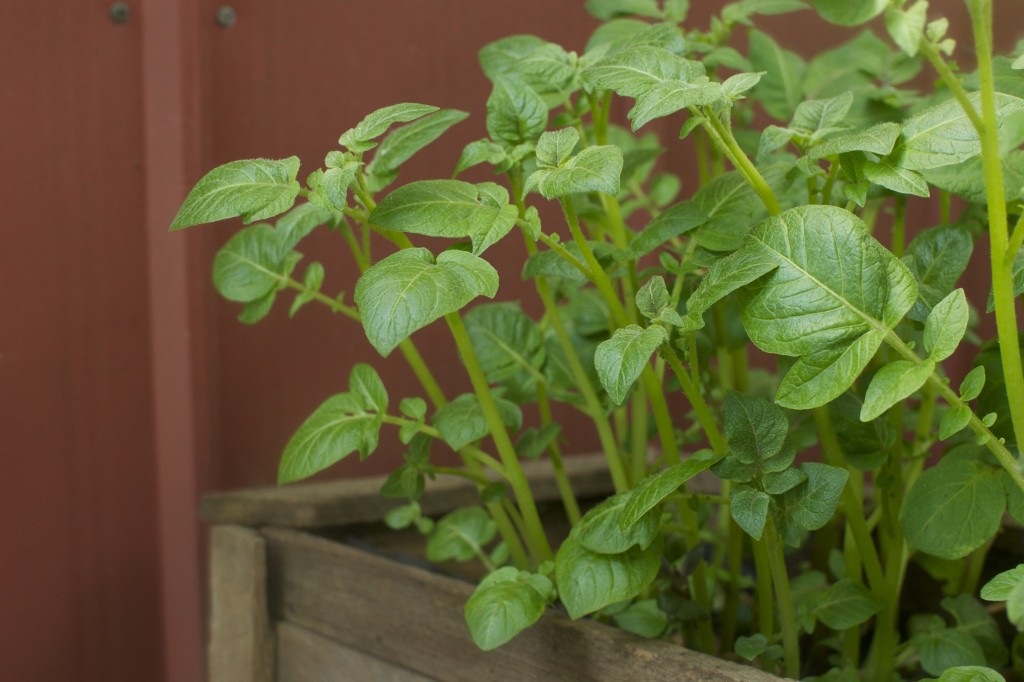
After anywhere from 2-4 months, depending if you planted an early, mid or late season variety the leaves will turn brown and die. Nothing’s wrong, this is how you know its time to harvest! Use your hands if possible or a pitchfork. A trowel can really wreck the tender new potatoes, cutting into their skins. Feel free to dump the entire pot over on the patio.
Planting, growing and harvesting potatoes are all excellent activities for kids. It’s really hard to mess it up and digging for them at the end of the season is like a little treasury hunt making a great activity to show where our food comes from.
7. Eat!
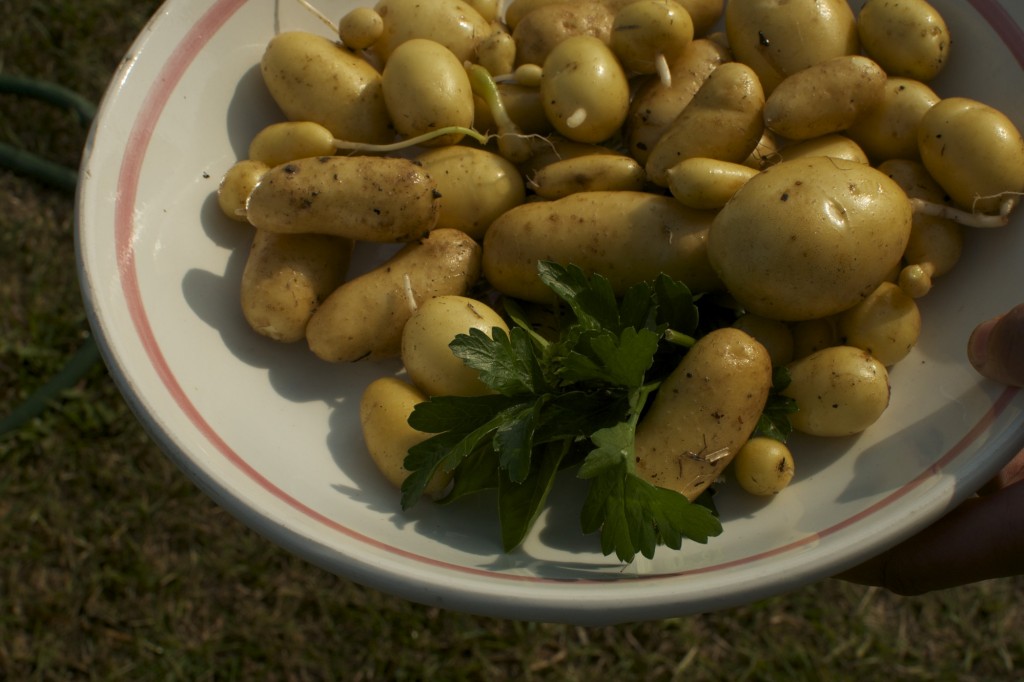
Everyone loves potatoes, especially fresh from the garden. We especially like them on pizza with leeks; they’re excellent in soup, as a simple side dish or in a perfect summer potato salad.
So there you have it: a quick and dirty way to put delicious organic produce from the garden on your family’s table.

Great tutorial. love the look of those purple potatoes, do they taste good
Reading your posts always get me so excited about gardening Laura! We’ve never grown our own potatoes. And now I wonder why? Thanks for the inspiration!
Thank you- thank you- thank you!!!! In one blog post you’ve made me feel like I can really grow potatoes. I’m loving having a veg garden, and can’t wait to add potatoes to my list of supplies when I go to the garden supply store today.
Wow totally great info. I can’t wait for spring to get started.
Do you have any suggestions for dealing with bugs? Thanks